

Sustainable Christmas activities for kids
Whether you’re looking for zero-waste alternatives to Christmas favourites, stocking fillers that won’t break the bank, or simply for some festive fun to enjoy with the little ones - we’ve got you covered! Here are our top 5 tried and tested Christmas activities to help you get creative whilst protecting the environment:
DIY eco-friendly wrapping paper

This wrapping paper made from potato stamps can provide endless hours of fun whilst adding a personalised touch to your presents. Best thing about it? Unlike lots of shop-brought wrapping paper it’s 100% recyclable!

What you’ll need:
Brown paper (recycle your own by saving any that comes wrapped around a parcel, or buy some from your local craft store)
A potato
A knife (for adult use only)
Some paint (we used metallic paint for a festive feel)
Start off by preparing the potato stamps for your child to use. To do this you’ll first need to cut the potato in half vertically so that you’ve got a nice base for your stamp. You’ll then need to sketch out the shape you want by scratching it on to the potato.
Once you’re happy with your design, which by the way does not need to be perfect for a great outcome, start cutting around it with a knife to carve out the shape. Then you can bring the little ones in to start having some creative fun! Just generously apply paint and start stamping away. Make sure to mix and match colours and patterns to spread some extra festive cheer.
And use paper sticky tape, ribbon or string to fasten your wrapped presents to ensure the paper remains recyclable (sellotape can’t be recycled).
2. Homemade recycled snow globe

Who doesn’t love the magic of a snow globe? As I child, I know I was captivated by them. They can also double up as a toy and a beautiful decoration. On top of that these recycled snow globes can be completely customised, making them that extra tad more personal and special.

What you’ll need:
An old jar
Your chosen plastic or ceramic toy(s)
Sweet wrappers or your favourite glitter alternative
Hot glue gun or epoxy glue (for adult use only)
Decorations for your jar (ribbon, paint, recycled aluminium – go wild!)
Water
Start off by getting your child to pick out some toys to go in the snow globe - anything plastic or ceramic will do (metal toys will rust). After they’ve decided on what will go in the snow globe, you’ll need to clean the jar and get rid of any labels. You can do this by soaking it in a mixture of warm water and washing up liquid. If you’re going to use the snow globe as a festive decoration, any old jar will do. If you want to use it as a toy, make sure to pick out a see-through plastic jar to make sure its child friendly.
Once your jar is all nice and clean, unscrew the lid and set aside the jar for now. The lid is going to become the base of your snow globe. Make sure to decorate it in whichever way you wish (here we’ve used recycled aluminium from an old dog food pouch). After decorating your lid, use a hot glue gun or epoxy glue to attach your child’s chosen toy(s) and any additional snow globe decorations to their base.
Whilst that is drying you can move on to making your sweet wrapper confetti. Lay out your sweet wrappers flat and cut them into long strips and then into little squares. Et voilà! When in water the cut up sweet wrappers will take time to sink to the bottom, providing the perfect snow globe effect. If you’re using a heavier glitter alternative, or if you simply want to slow down your snowfall a little further, add a few baby oil drops to the water that will go into the jar.
Now pop your ‘snow’ into the jar and fill with water. Screw your lid back on and then finish off with a small layer of hot glue around the edges to stop any leaks. And then all that’s left to do is enjoy!
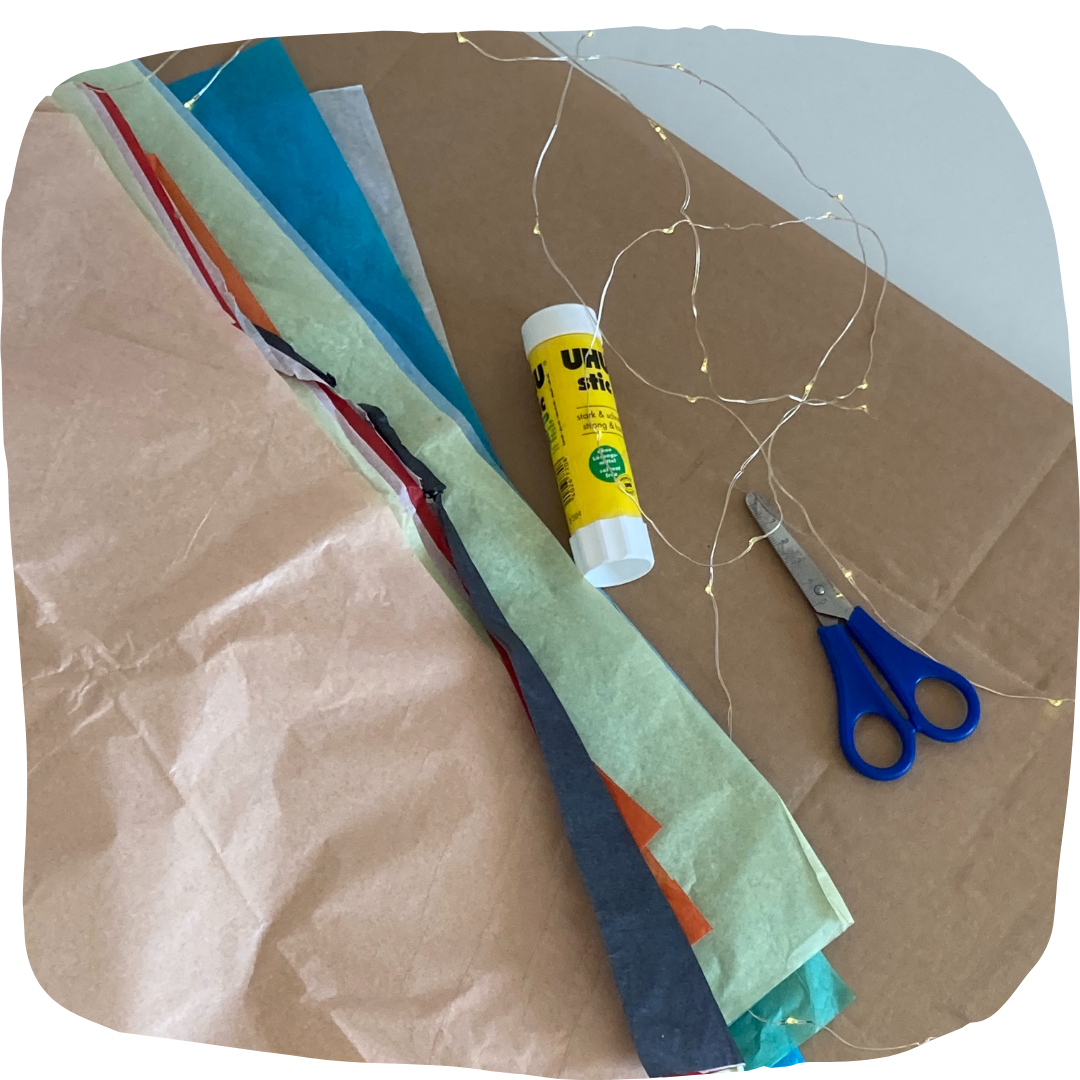
3. DIY sustainable Christmas crackers

Christmas crackers are a festive favourite, but they also produce an unnecessary amount of waste. So instead of the same store bought crackers this year, why not try and make your own out of recycled materials from around the house? Fun, festive, and friendly to the environment!

What you’ll need:
Recycled wrapping paper (why not use your DIY potato stamp paper!)
Toilet/ kitchen roll tubes
Ribbon or string
Scissors
Glue
Fillings (you can use tissue paper hats, toys, games, jokes)
Snappers (optional but you can buy these online)
Start off by placing your decorative paper face down on a table. Apply glue to your cardboard tube and stick it onto the edge of the wrapping paper, positioning it in the middle. Once it’s all stuck down, roll the tube across the decorative paper until the edges overlap and then glue it all in place. You should end up with one long tube.
If you’re using snappers, pop them into the tube and stick them to the paper at each end with small dab of glue to hold them in place.
Now get out your ribbon or string (here we’ve used wrapping ribbon from old presents) and use it to gently twist one of the sides of the tube into a cracker shape. Once you’re happy with the shape, tie a little knot or bow.
Now add your cracker fillings and then secure the other side of the cracker in the same way as the first. And there you have it, it’s that easy and simple!
4. Upcycled Christmas gift box

This creative gift box turns old carboard cartons into beautiful gift boxes which can be given away or used as decorations around the house! They’re also perfect for housing lots of little gifts.

What you’ll need:
A carboard carton
Wrapping paper (again, you could use your DIY potato stamped brown paper)
Ribbon or string
Scissors
Hole puncher
Clean and dry off your carton so that it’s ready to go. Carefully cut off the top of the carton horizontally. Once you’ve got a hollow cuboid, squeeze two opposite sides of the carton together and press down on the folds that appear.
Now get your little one to help you wrap up your carton with some decorative paper and glue it all in place. Don’t forget to fold the paper over the cut edge of the carton to keep it safe and make it look prettier.
Then make a slit near the top of the carton on both sides (or use a hole puncher to make a hole) and simply feed some strings through to fasten everything shut. Presents never looked so good (or so waste-free)!
5. Life sized gingerbread house

Live out some Hansel and Gretel magic by turning old cardboard boxes into a festive playhouse. Not only is this craft activity lots of fun, but it also comes with a no sloppy icing guarantee!
What you’ll need:
Cardboard boxes
Coloured paper/ tissue paper/ paint/ markers (or your favourite decorating tools)
Scissors (boxcutter optional)
Glue
This one is very simple! Start off by making your house out of the cardboard boxes. Use one box as a base and, from the second box, cut out flaps for the roof. If your box is big enough for the little ones to crawl in to, make sure to cut out a door for them (remember to fold the side so that the door opens up evenly).
Then comes the fun part. Get everyone to pitch in and decorate your ginger bread house in whichever way you like. Remember… when it comes to decorating more is always more.